05Assembly_tutoria
overview
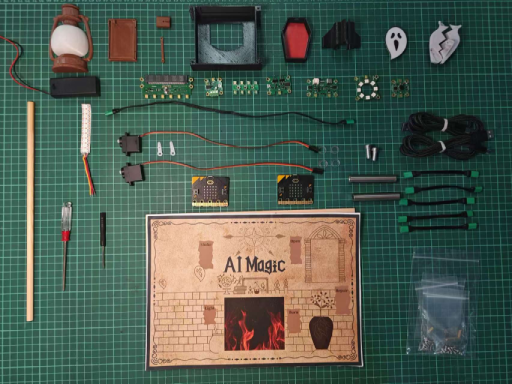
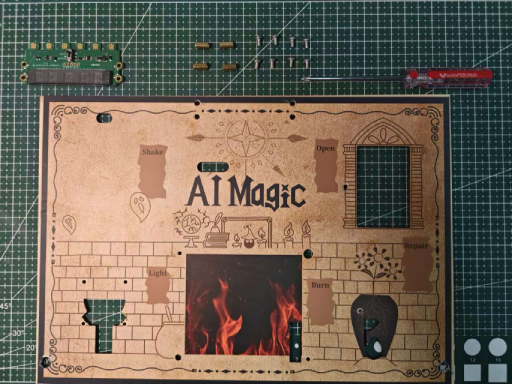
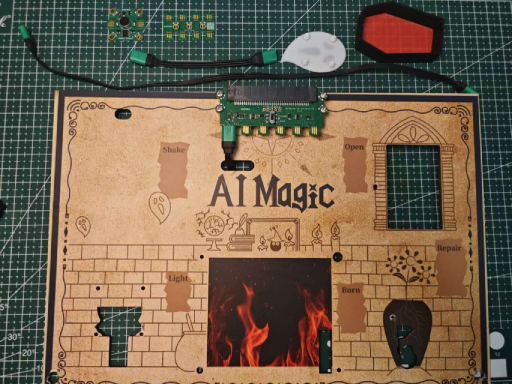
Parts Overview
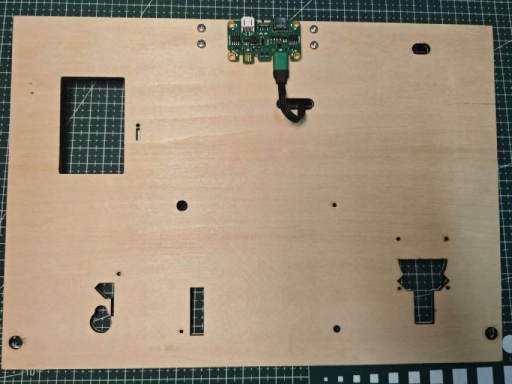
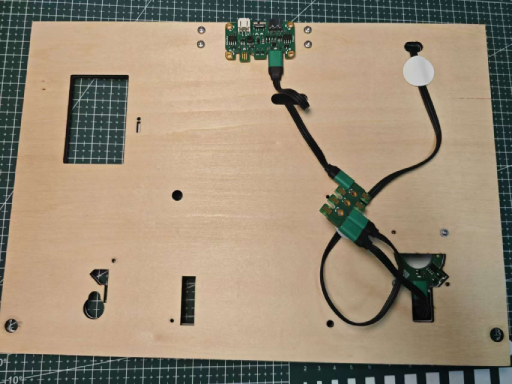
Bottom plate installation
Stickers

Remove the unnecessary parts from the sticker.
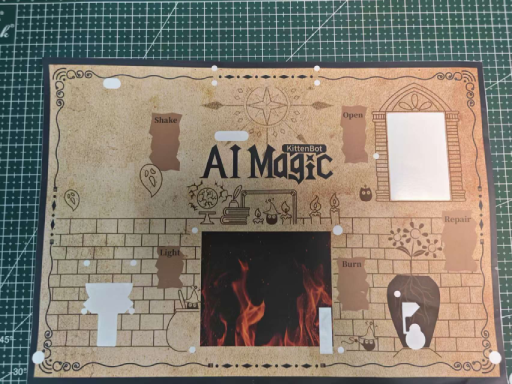
Stick the torn stickers onto the wooden board.
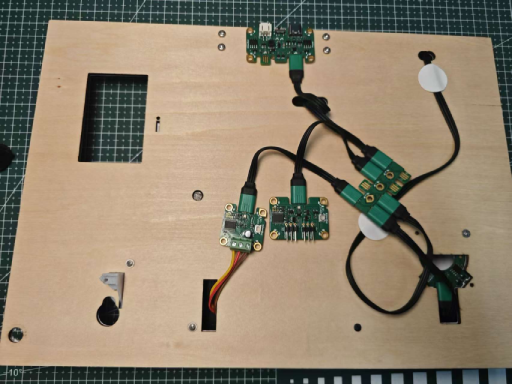
Functional module installation
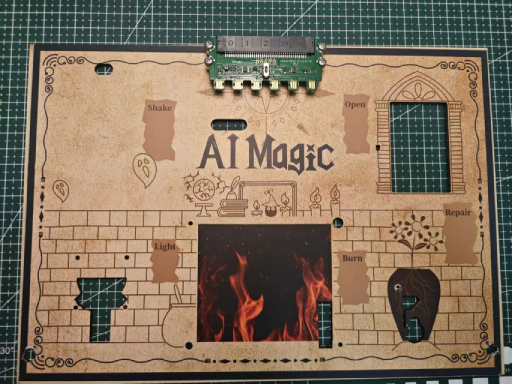
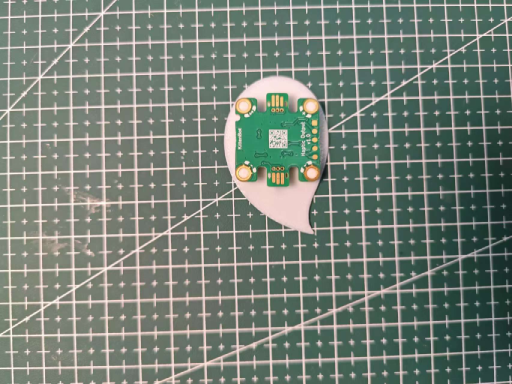
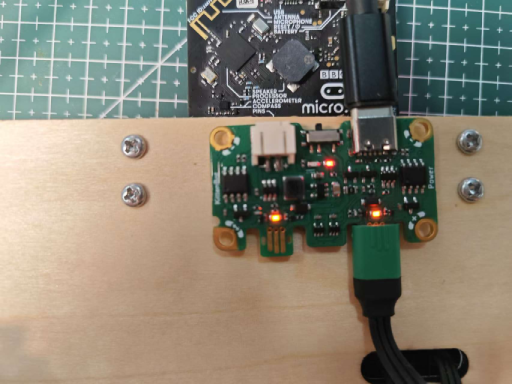
Installation of Jacdapyor module
Parts preparation
Jacdapyor
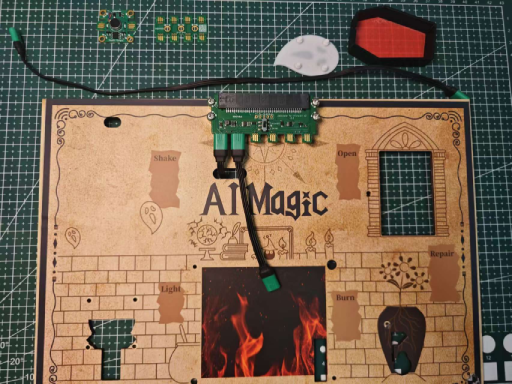
Installation steps
Fix Jacdapyor with screws and copper pillars.
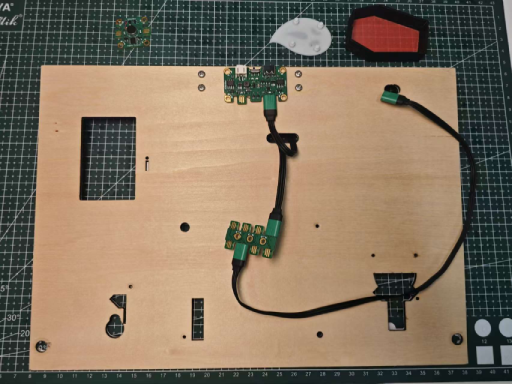
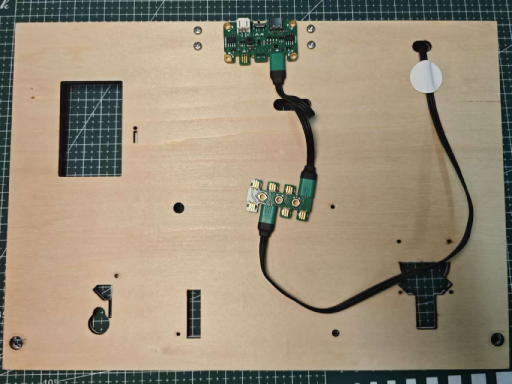
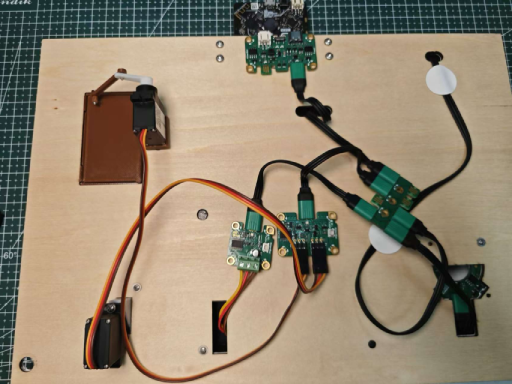
Power motherboard installation
Parts preparation
Power module
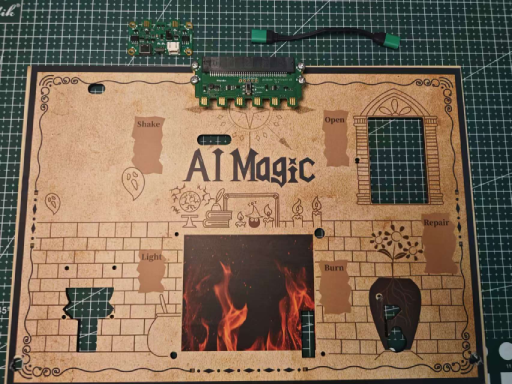
Installation steps
Insert the power cord into the first pin on the left side of the base.
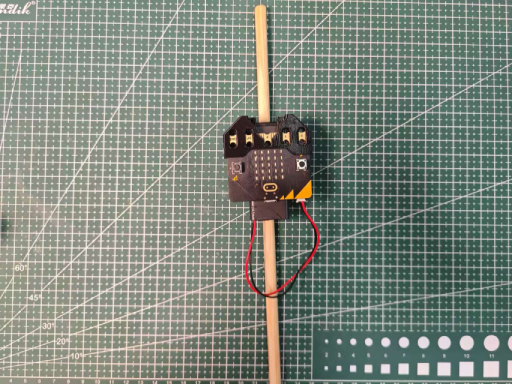
Use glue to fix the power onto the wooden board and connect it to Jacdapyor.
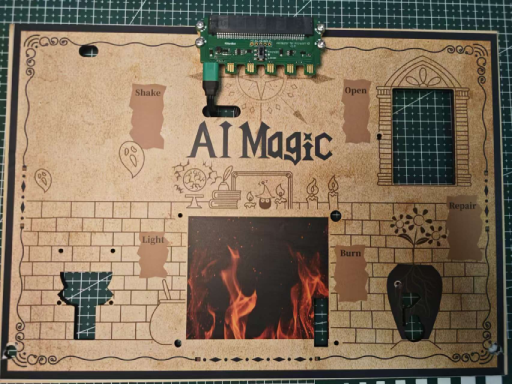
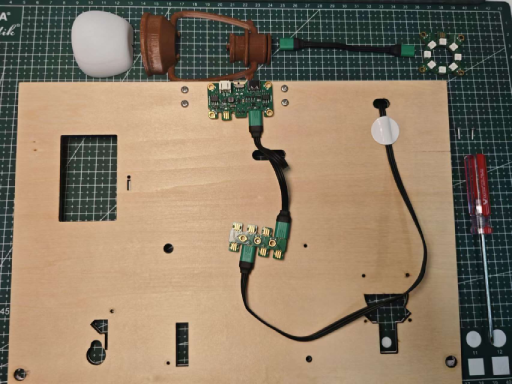
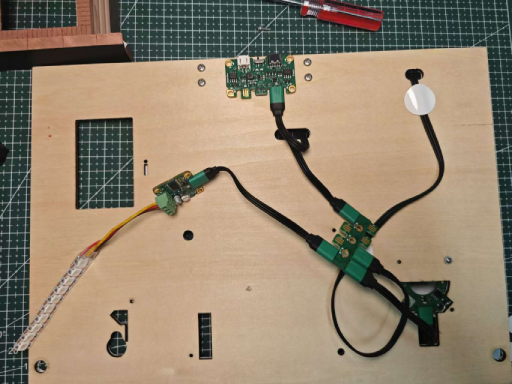
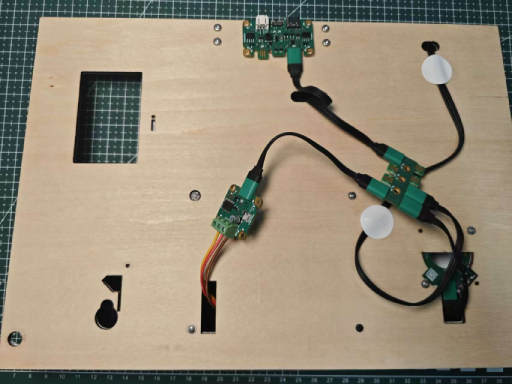
Haptic module installation
Parts preparation
Hub module, Haptic module
Installation steps
wire connection

Use glue to fix the wire.
Ghosts should not be attached to oil lamps. A little distance above the oil lamp will improve the vibration effect.
RGB Ring module
Parts preparation
RGB Ring module
Installation steps
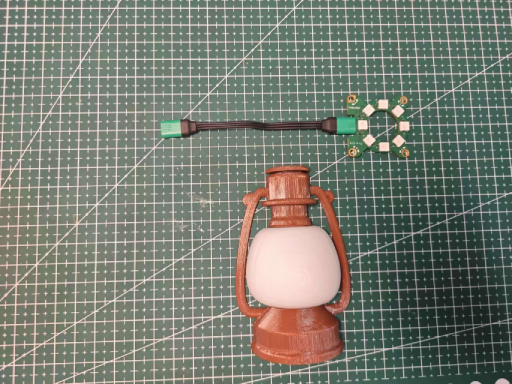
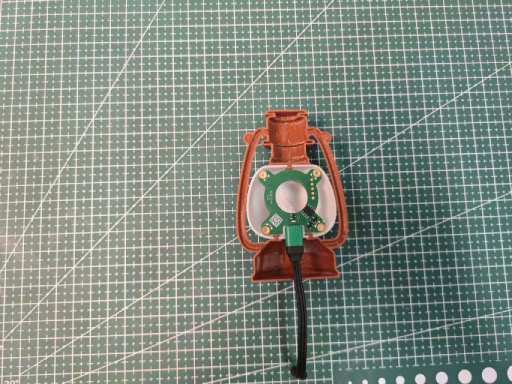
Connect the wires and then use screws to secure the 3D printed part to the wooden board.
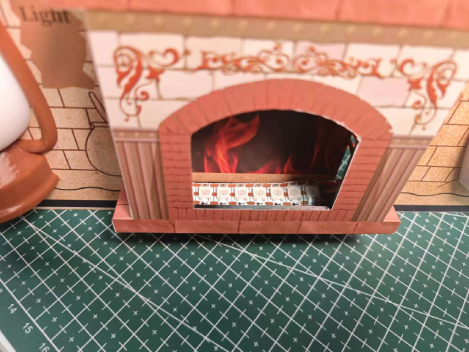
RGB Strip Module
Parts preparation
RGB Strip Module
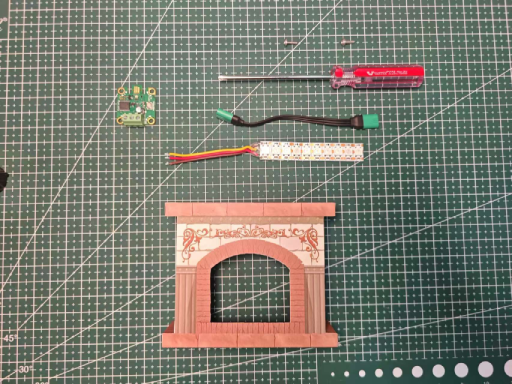
Installation steps
wiring method
Use screws to secure the 3D printed fireplace piece to the wooden board.
Paste the RGB light strip onto the fireplace.
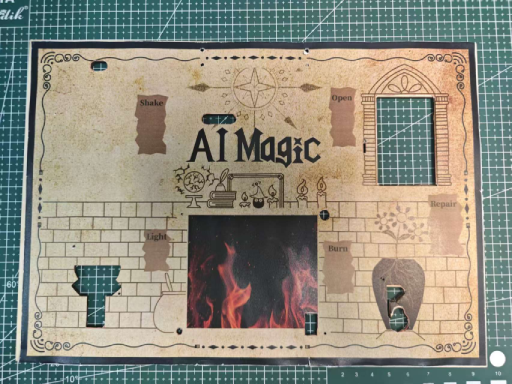
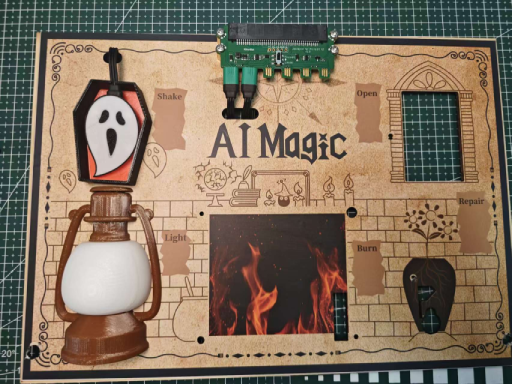
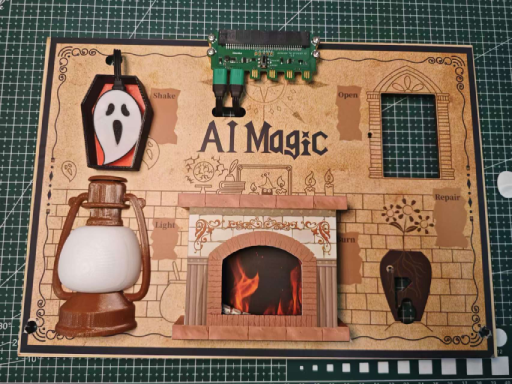
Front schematic diagram
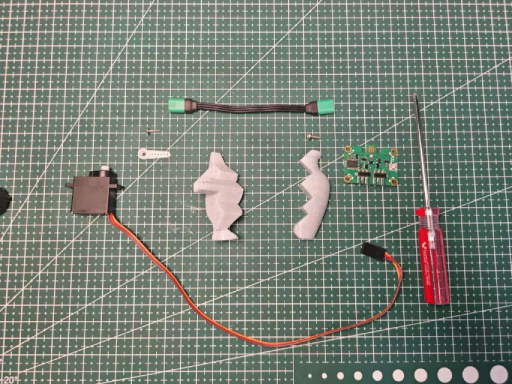
Vase installation
Parts preparation
Servo module
Installation steps

Click the power button to initialize the servo angle and control the angle of vase breakage and repair.
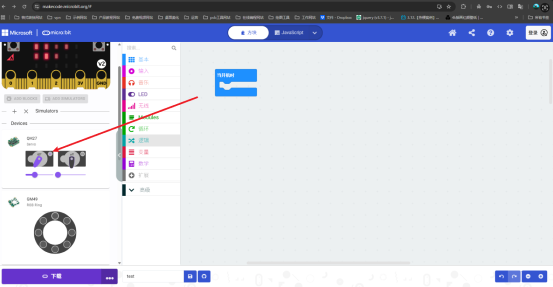
:::warning
Before initializing the servo, it is necessary to supply power to the power module

Turn on the power button
:::
Installation of magic door module
Parts preparation

Installation steps
dangerThe steps for initializing the servo angle of the magic door are the same as those for the vase module. Control the angle of opening and closing the door.
Use screws to fix the servo and 3D printed parts
Magic wand installation
Parts preparation
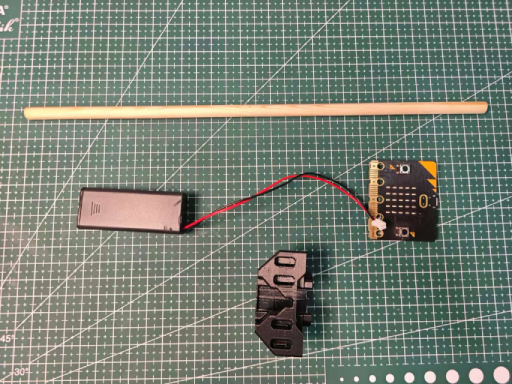
Installation steps
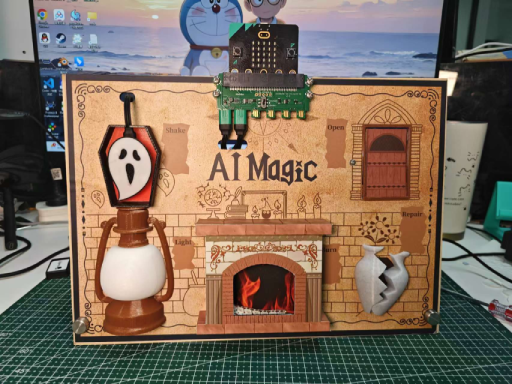
Finished product display image