microbit_CreateAI
Overview
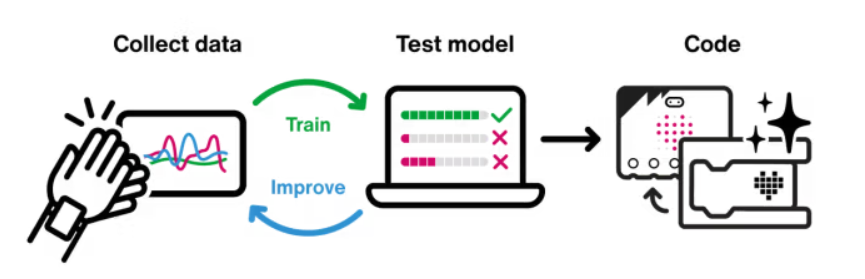
micro:bit CreateAI is a free, web-based tool that makes it easy for students to explore AI through movement and machine learning (ML). You can use micro:bit CreateAI to train an ML model and then run it on your BBC micro:bit V2.
Machine learning (ML) is a type of AI where computers can learn from and make decisions based on data. It's widely used to power many kinds of technology, including smart fitness trackers.
Setup
- A computer with Chrome or Edge browser
- A micro:bit V2
- USB data cable
- Batteries and battery pack
STEP
Connect your micro:bit
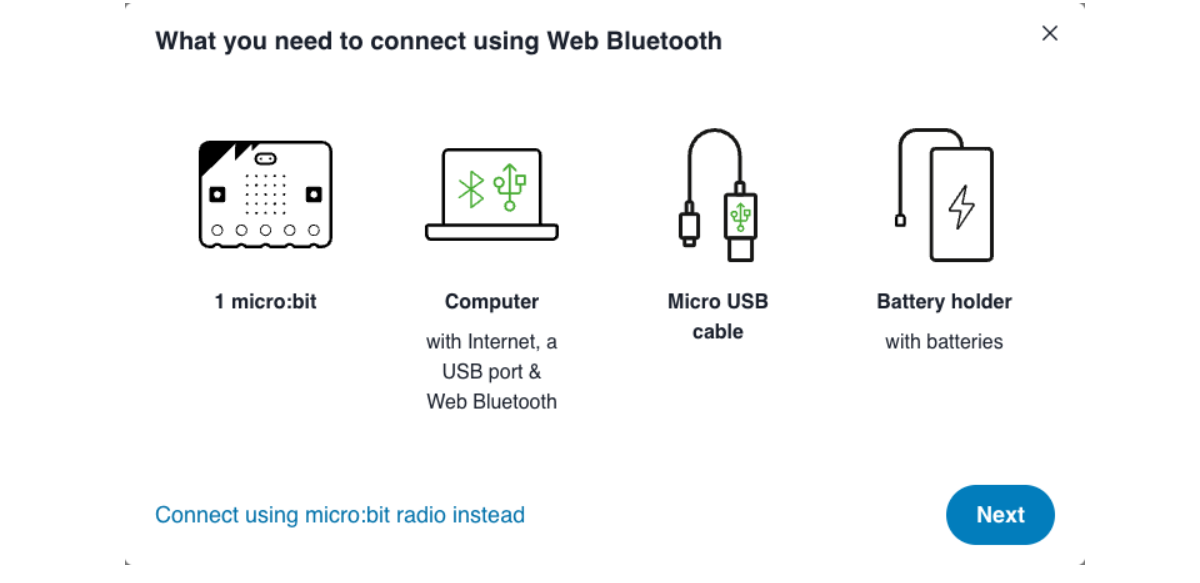
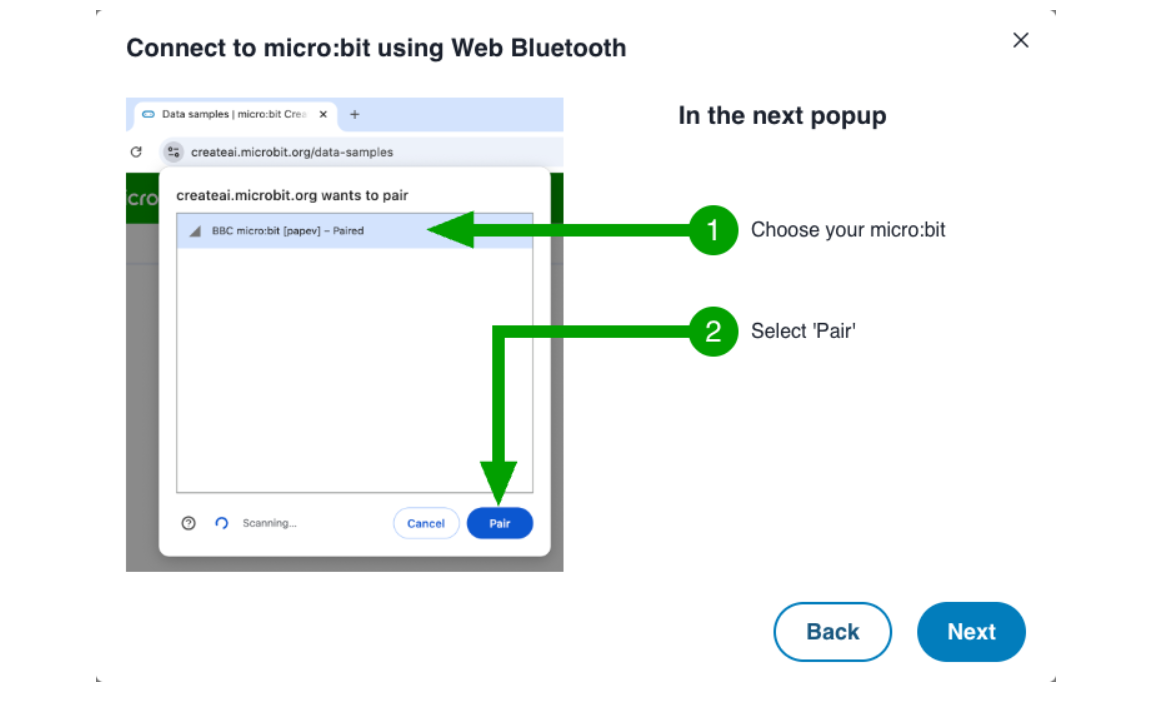
To collect data to train your ML model, you need to connect a micro:bit to your computer. We call this micro:bit the data collection micro:bit. Because you'll be collecting movement data, you will connect using a wireless connection. There are two ways to do this, Bluetooth and radio link.
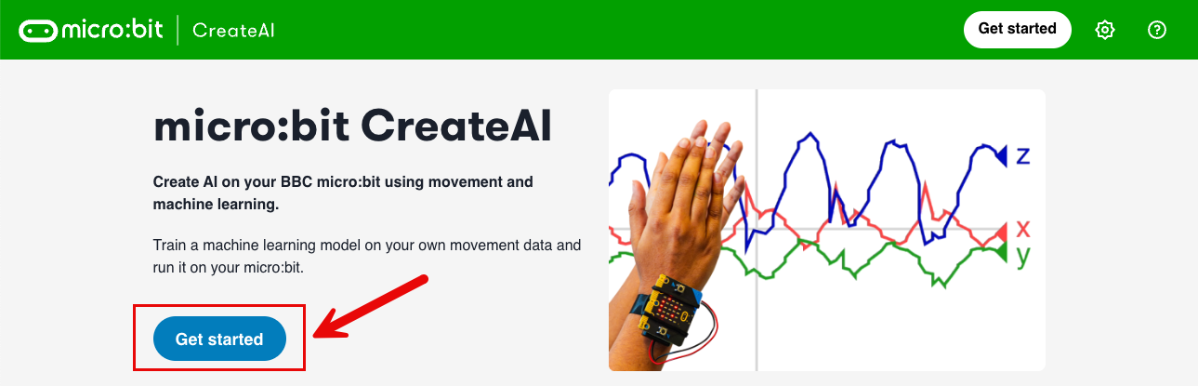
Open micro:bit CreateAI (https://createai.microbit.org/) and click the "Get started".
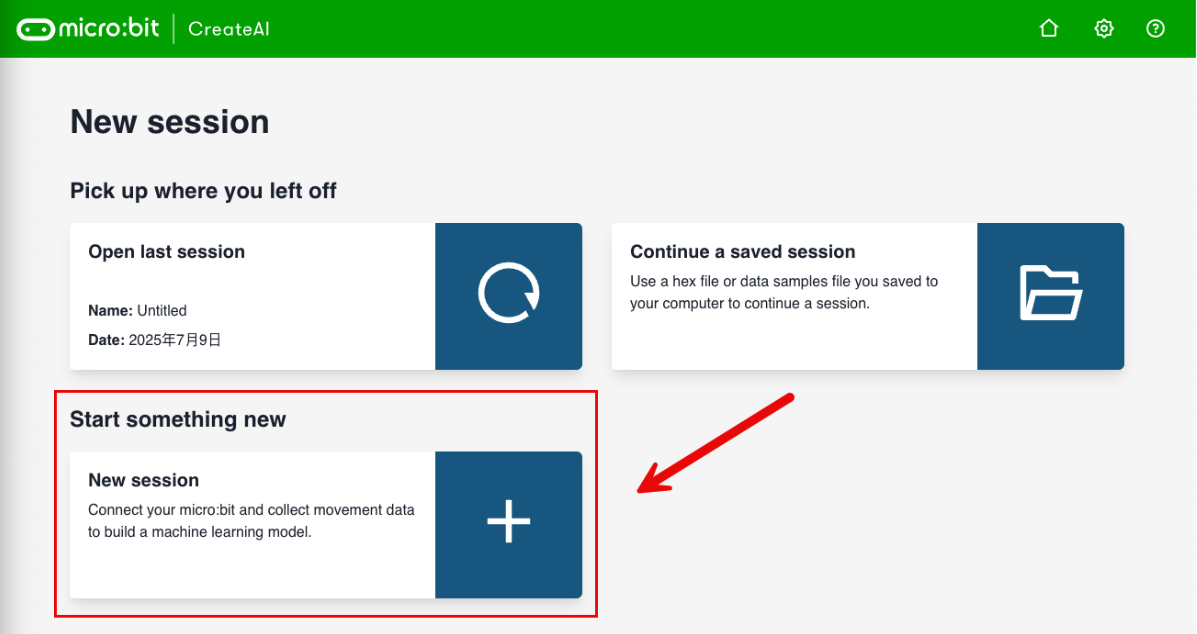
In the new interface, click "New Session". If you have ongoing session or saved session, you can open them using the two options above.
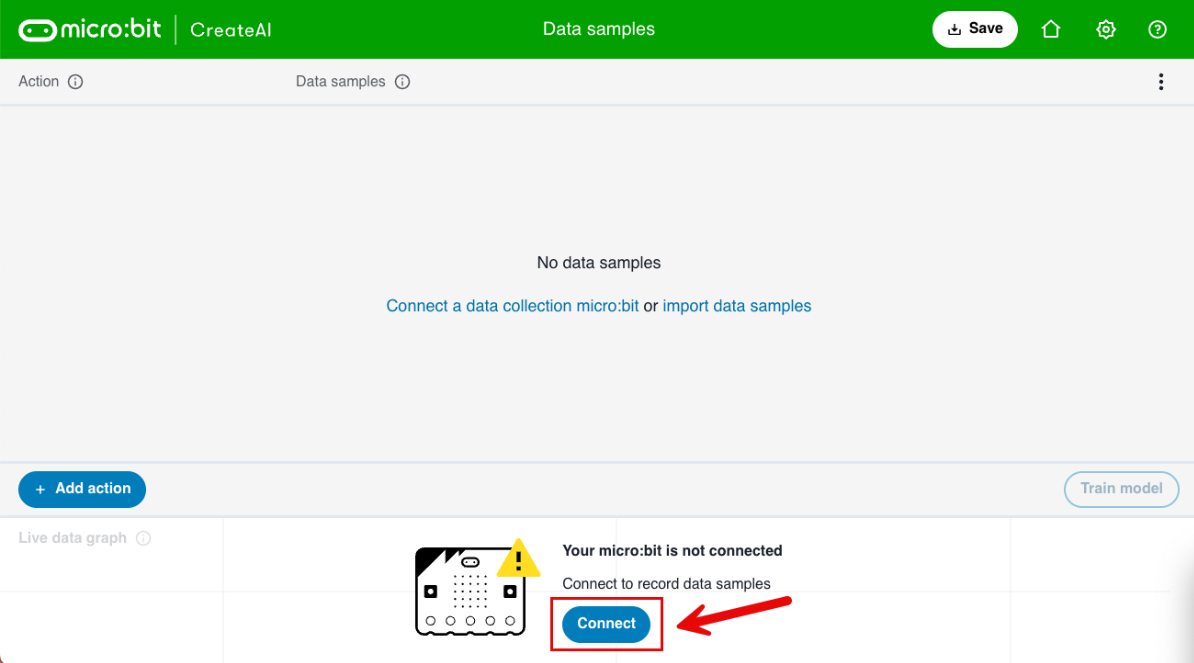
If this is a new session, the interface will display "No data samples". Click "Connect" at the bottom of the screen.
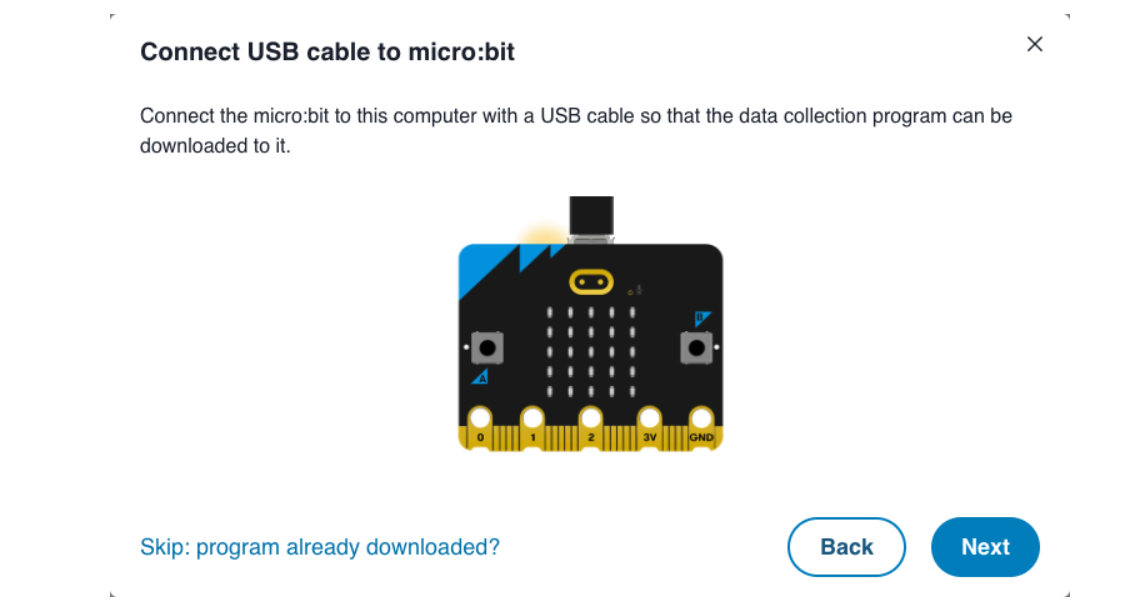
Follow the prompts to establish a wired connection between your micro:bit and computer.

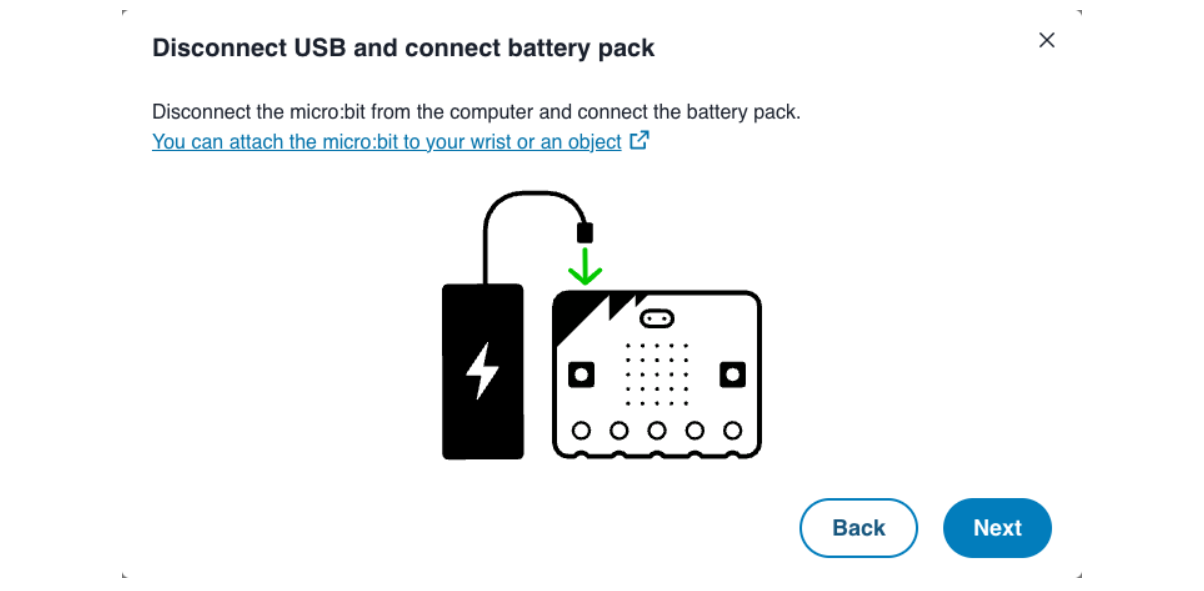
After completing the wired connection, insert the battery pack (pre-assembled), turn on the power, then disconnect from the computer.
Record data samples
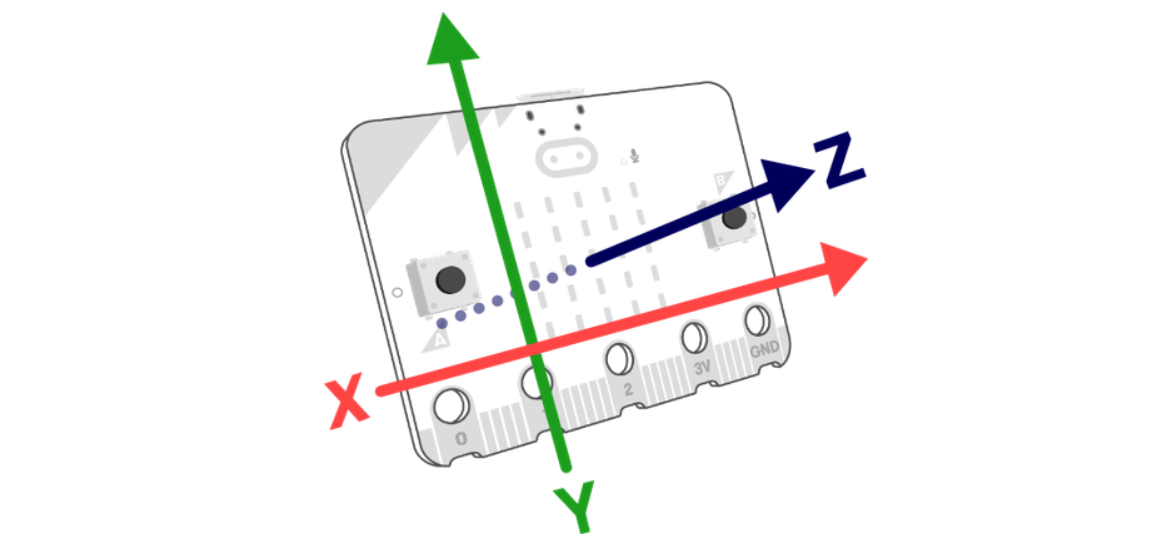
The data collection micro:bit uses its accelerometer to measure changes in movement in three dimensions: x, y and z. It sends the data wirelessly to micro:bit CreateAI.
micro:bit CreateAI shows this data in a live graph that responds in real time to the movements of your micro:bit.

Step 1: Mount your micro:bit
Mount the micro:bit onto the 3D-printed wand
Step 2: Design your action
Wave the wand and design simple action, ensuring distinct differences between each motion for reliable recognition.
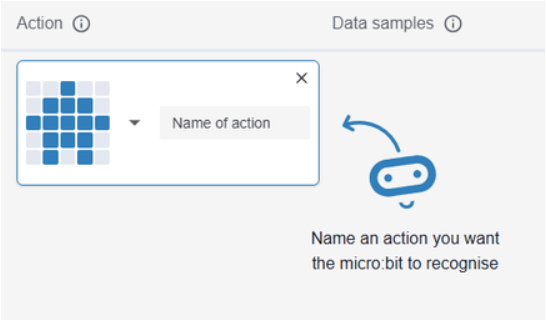
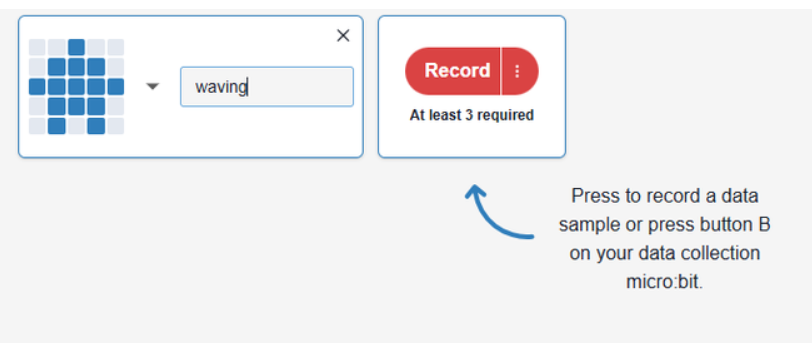
Step 3: Name your action
Name your action and select icons.
Step 4: Record data samples
Press the 'Record' button to record data samples of your movement. Each sample lasts 1 second.
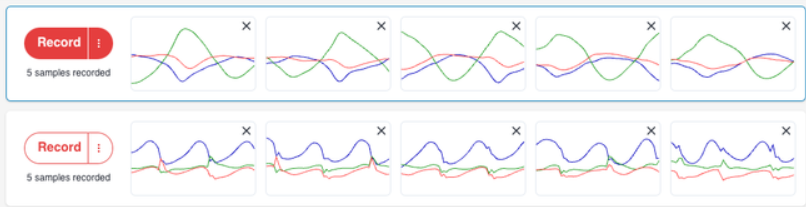
Step 5: Record more data samples
You need at least 3 data samples for each action to train the model, but ML models usually work better with more data.

Step 6: Check your data quality
Check your data quality. Use a process of data cleaning and remove any data you think might be bad (data outliers) and record more samples if you need to.

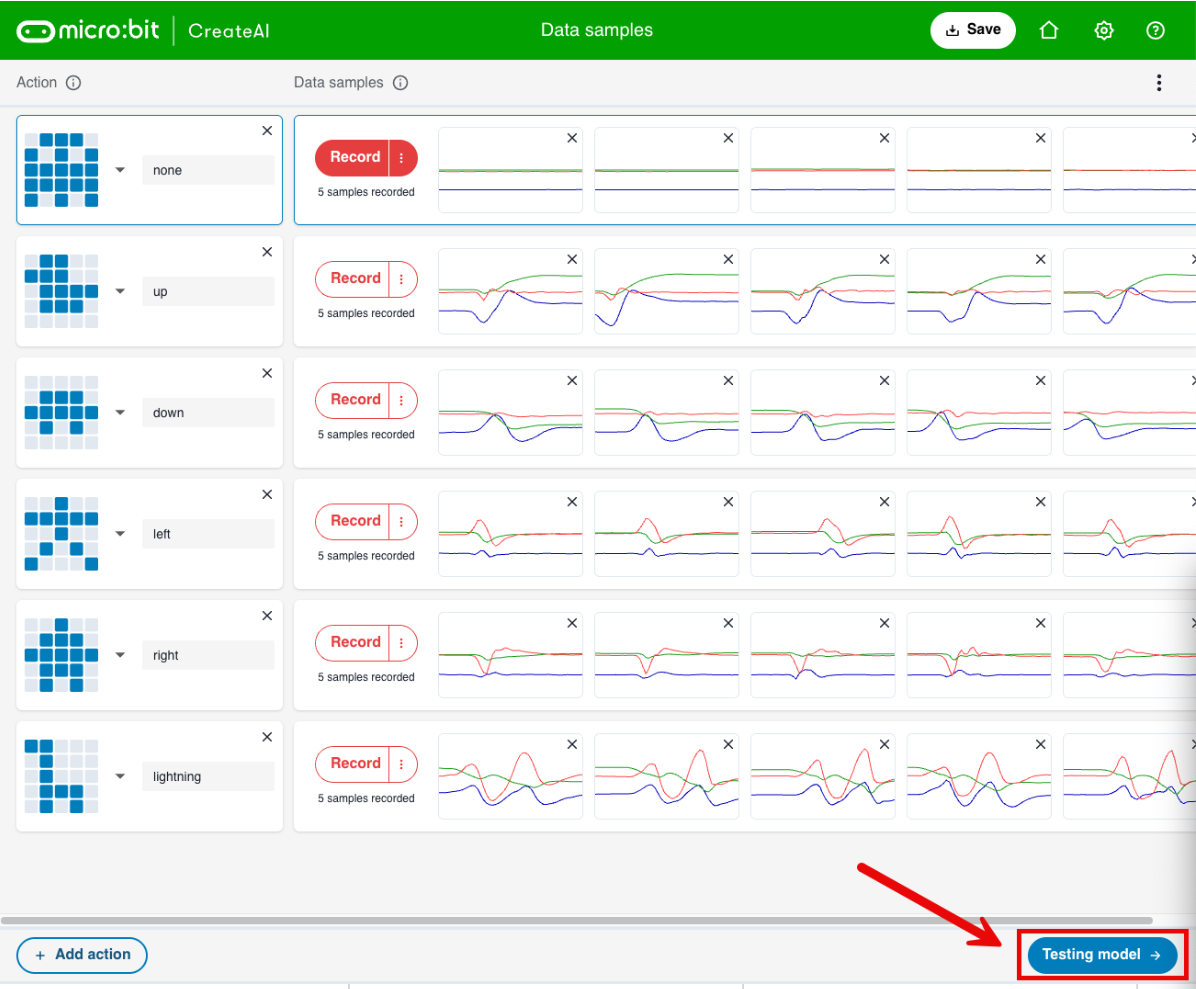
Step 7: Repeat for more actions
Use the 'Add action' button to create more actions. Collect data for each one. You need at least 2 actions to train the ML model. When you have enough actions and data, you are ready to train your ML model.
Tips:
- It is best to record a static-state sample—specifically, a sample of holding the wand without waving it.
- Keep the micro:bit in a fixed orientation.
- For samples of the same action, record as many as possible.
- Review samples of each action, observe the curve of every sample. If any sample differs significantly from others, it should be treated as erroneous data and re-recording is recommended.
Train and test your ML model
When you have enough actions and data, the 'Train model' button will become active. Press the 'Train model' button and you're ready to test your model.

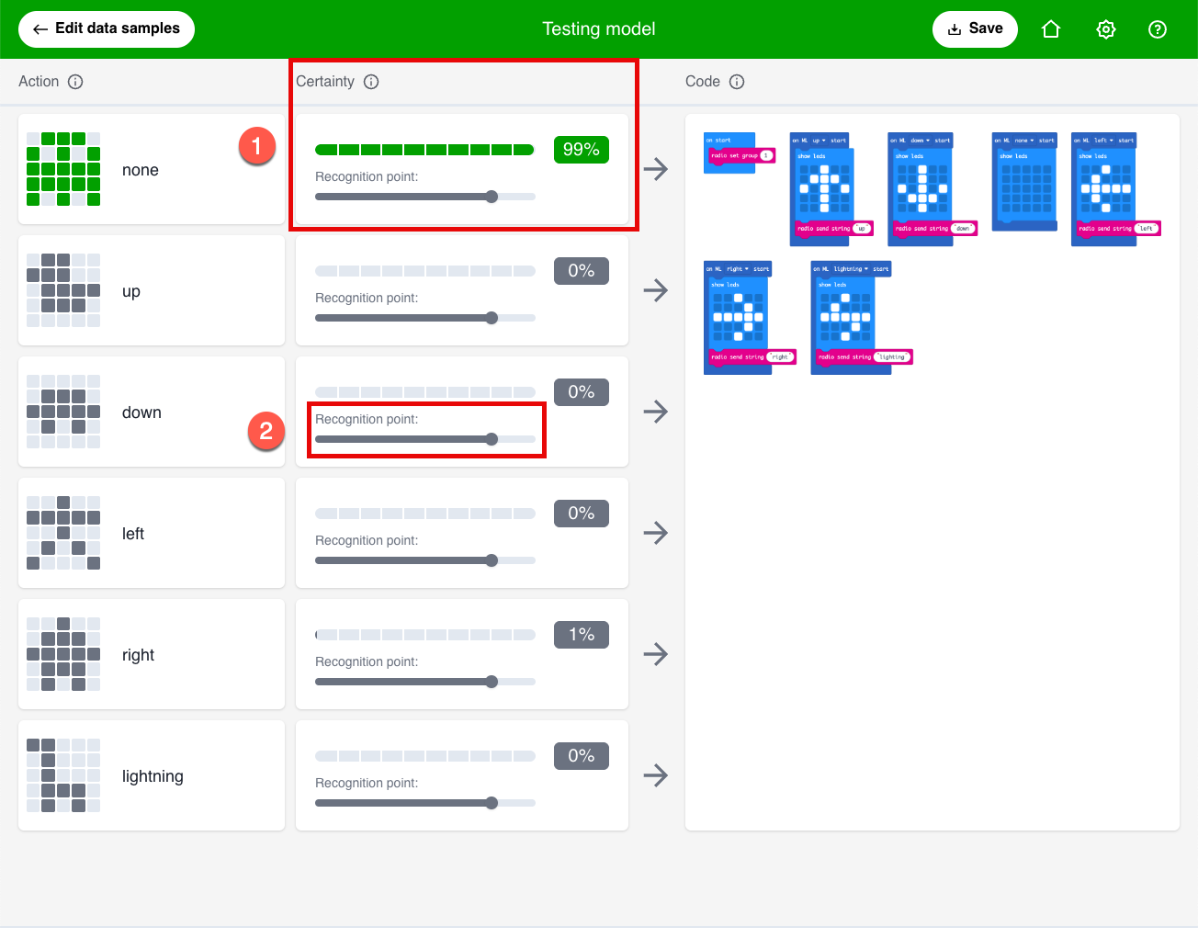
After entering the testing Model interface, focus primarily on the following three sections:
Certainty
The certainty shows how certain or confident the ML model is that you are doing that movement. The higher the percentage, the more confident it is.
Recognition point
The confidence threshold for CreateAI to decide you are doing a particular action. You can adjust the recognition point to see how it changes the way the model recognises your movements.
Estimated action
The estimated action is what the model recognises as the current movement you are making.

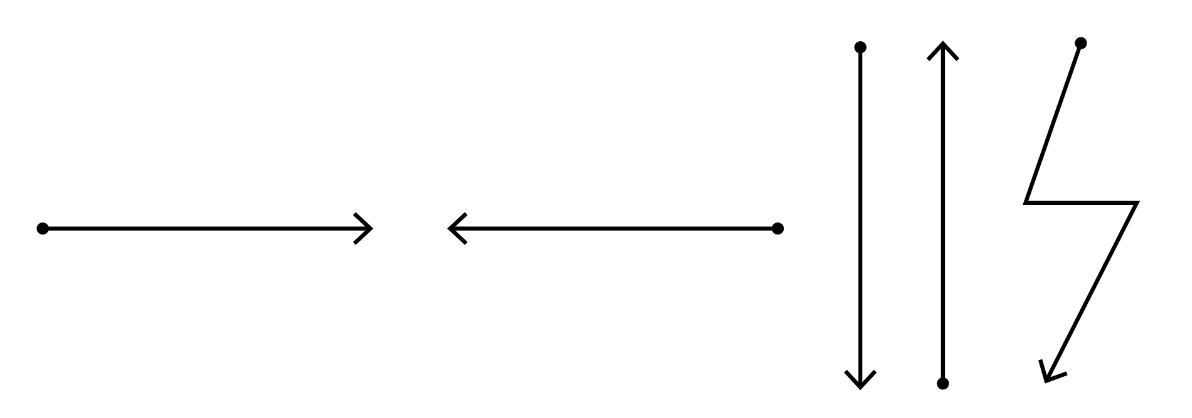
Example
In this example, 5 gestures were selected for demonstration: Up, Down, Left, Right, and Lightning.