Meow Home TT Motor
Meow Home motors use high-quality motors that, at the same rotational speed, require less current and place lower demands on the power performance of the mainboard.
The soldered joints of the motors are wrapped in heat-shrink tubing to prevent stress on the solder points from pulling on the motor wires, which could cause the solder joints to detach.
The interface uses a standard 2.54mm DuPont 2-pin connector.
The motor voltage supports 3–6V.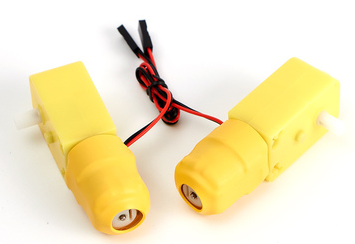
Wiring
Connect the 2-pin terminal to the M1 (M1A+, M1A- or M1B+, M1B-) or M2 (M2A+, M2A- or M2B+, M2B-) motor interface on either side of the Robotbit V2 or Edu.
Remember to turn on the Robotbit's power switch, as the motor is powered by the 18650 battery on the Robotbit.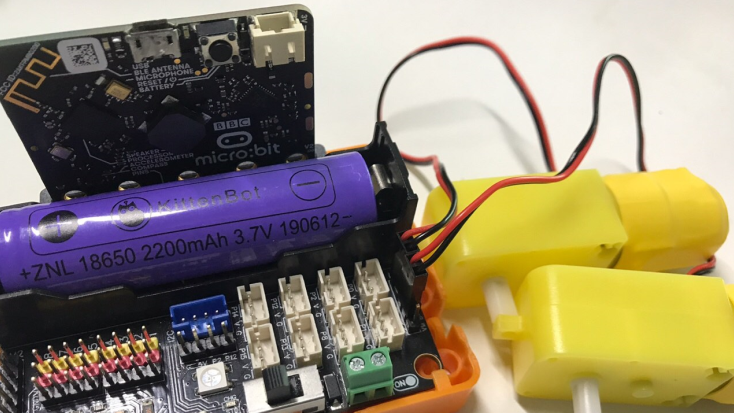
Wheel Installation
Unscrew the coupling from the wheel, install it onto the output shaft of the TT motor, and then attach it to the wheel.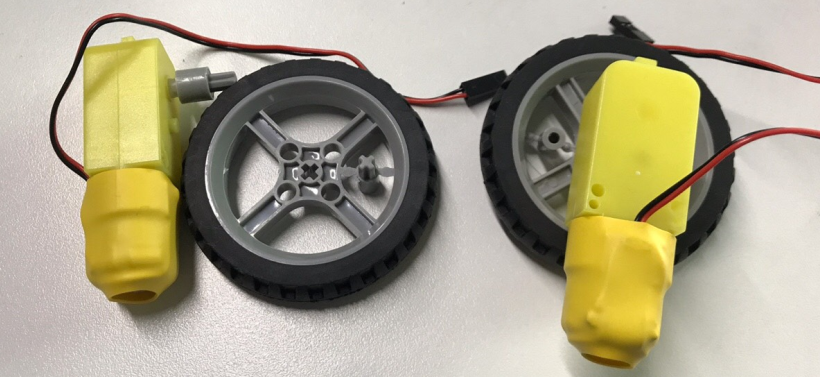
Programming
#Button A and B control the M1A motor.
Usage Notes
- The motor uses the Robotbit's motor driver, so the program requires [Expansion Board Initialization].
- The motor speed can be set between -255 and 255. A negative sign indicates the direction of rotation, and a larger absolute value corresponds to a higher speed.
