Playing with the MakeCode Arcade
Explore MakeCode Arcade, a graphical pixel game programming platform meticulously crafted by Microsoft's education team, which allows your creativity to extend infinitely in game design. Here, you can not only freely shape game characters, backgrounds, and sound effects but also write game logic to make your imagination a reality. However, many people may not yet realize that the platform's graphic customization features are fascinating.
Imagine the wonderful experience of seamlessly blending the game world with real life. For instance, when the plants in the game appear to need water, this is actually connected to the real condition of a plant in the real world. As you water it in the game, the plant not only sways cheerfully on the screen, but the real-life plant is also truly nourished. This creative fusion of the virtual and the real is not only fascinating but also a journey of creation filled with fun and depth.
Hardware Preparation
To achieve hardware expansion of the game world, we recommend using KittenBot's FutureBoard Lite as a programming master. With it, you can extend a variety of fascinating sensors, electronic modules, or execution devices.
Before you begin, connect your computer using a USB data cable and format the disk symbol of the FutureBoard Lite. This is to avoid any residual file fragments from affecting the subsequent operations.
Note: The next experience is not compatible for macOS, please use windows system computer to experience.
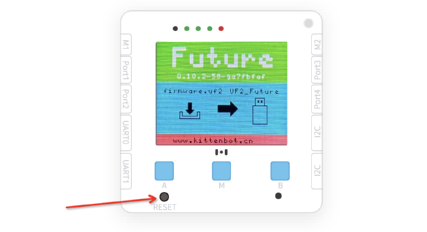
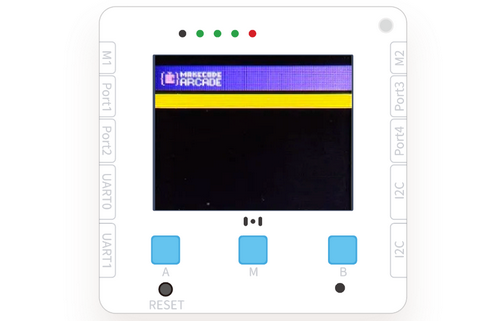
- Double-click the RESET (reset button) to enter the firmware update mode. The screen will display as follows:
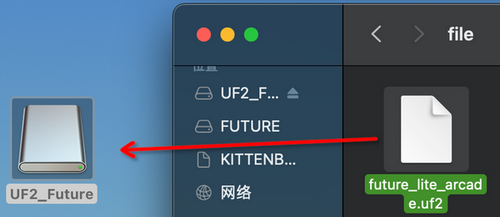
- Download the dedicated UF2 firmware and drag it into the UF2_Future drive of the FutureBoard Lite.
- When finished, the screen displays as follows, and the disk drive name changes back to FUTURE.
Programming Platform Setup
Browser to open the URL:https://arcade.makecode.com
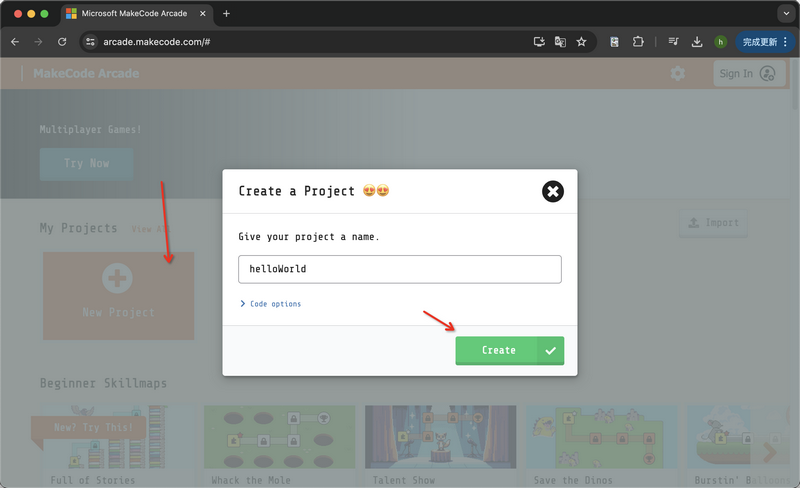
- Create a new blank project and enter the programming page.
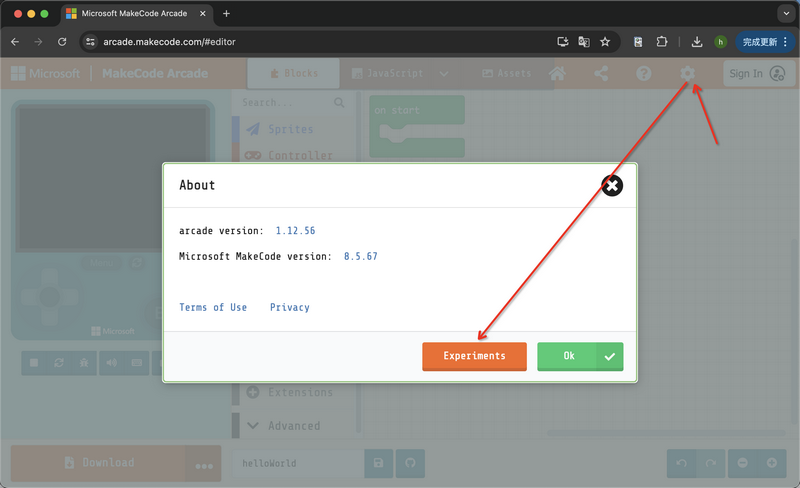
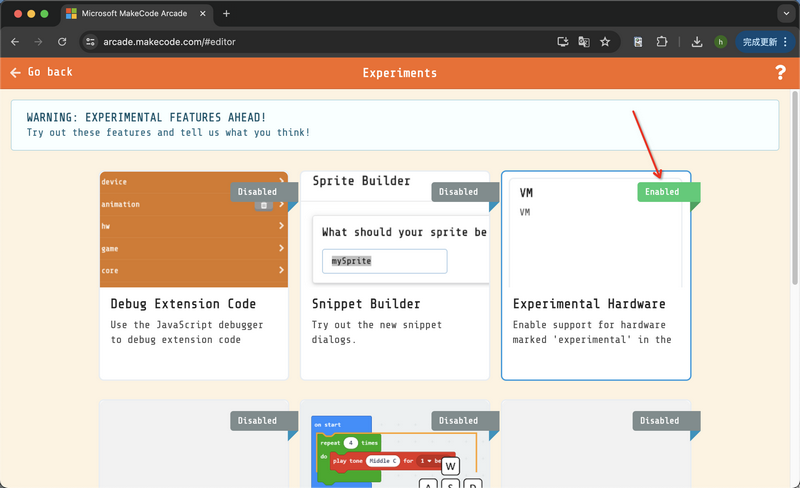
- In the About -> Experiments, launch the VM experimental hardware.
- Select the hardware type for the upcoming programming and download as VM.
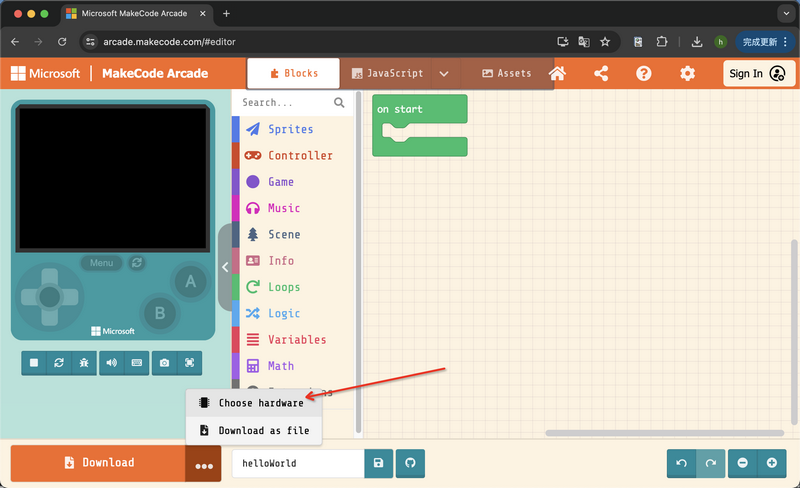
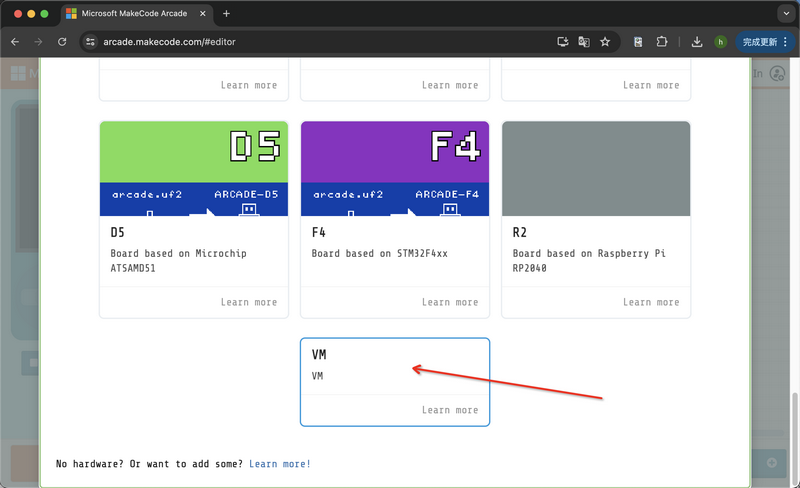
Using FutureBoard Lite with Bluetooth Gamepad for Arcade Fun
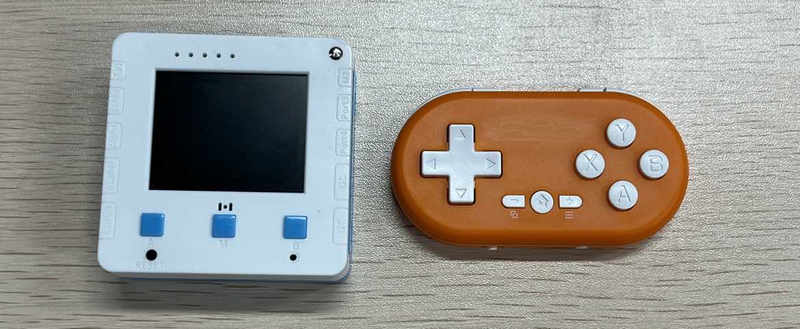
Prepare the FutureBoard Lite and a universal Bluetooth gamepad.
Please ensure that the FutureBoard Lite has updated its firmware.
The process of downloading the program is the same as for other boards, just save uf2 on a USB flash drive.
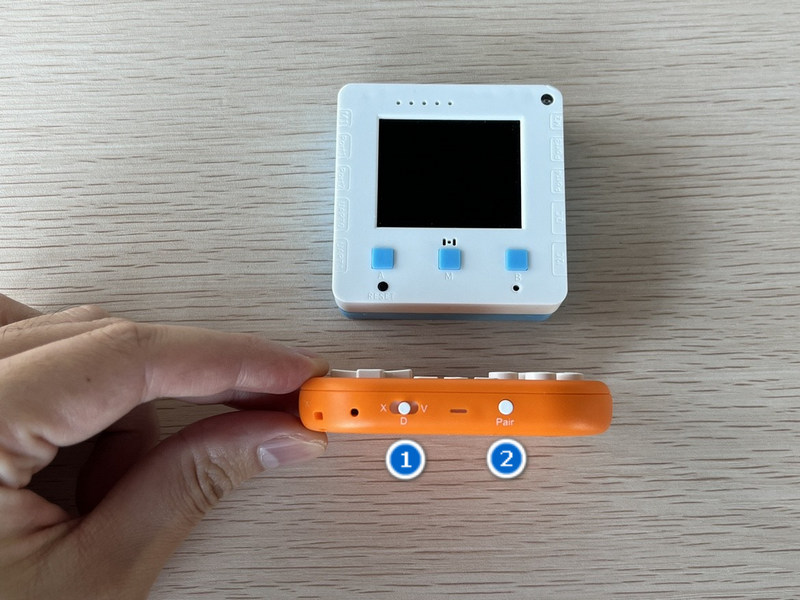
Set the gamepad mode to "D."
Then press Pair; at this point, the red light in the middle will blink.
Turn on the FutureBoard Lite. No other setup is needed; just wait for the gamepad and the main board to pair via Bluetooth.
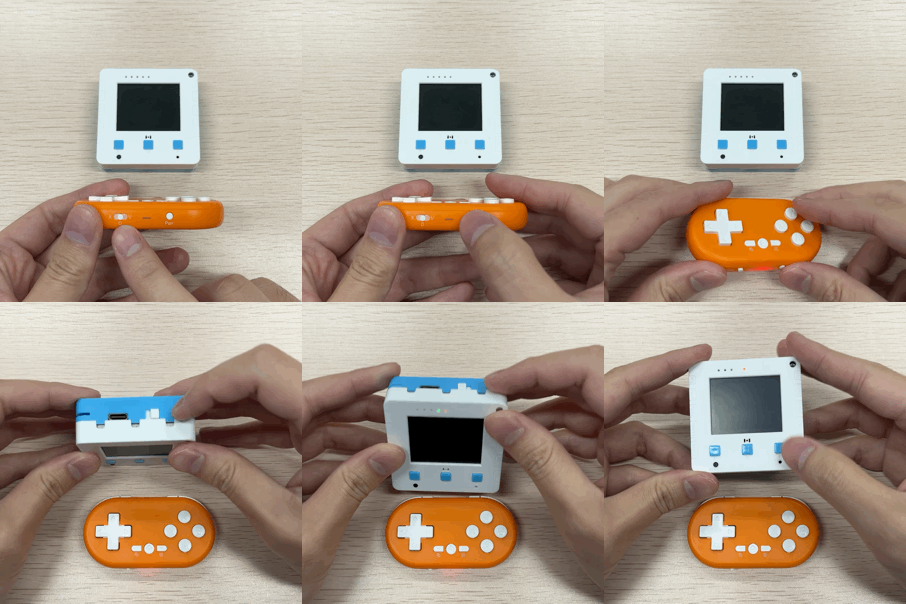
When the red light stays on, it indicates that the pairing was successful. This pairing process lasts about 8 seconds. If the connection fails, restart the FutureBoard Lite.
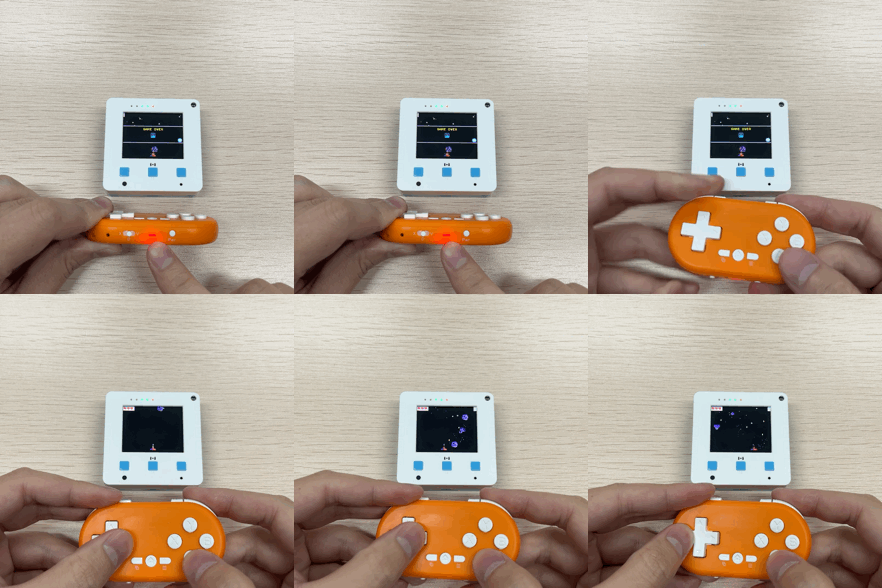
Adding Hardware Controls
- Load the exclusive hardware extension for the FutureBoard Lite, which includes control of the mainboard's IO and sensors, as well as the accompanying Sugar electronic modules.
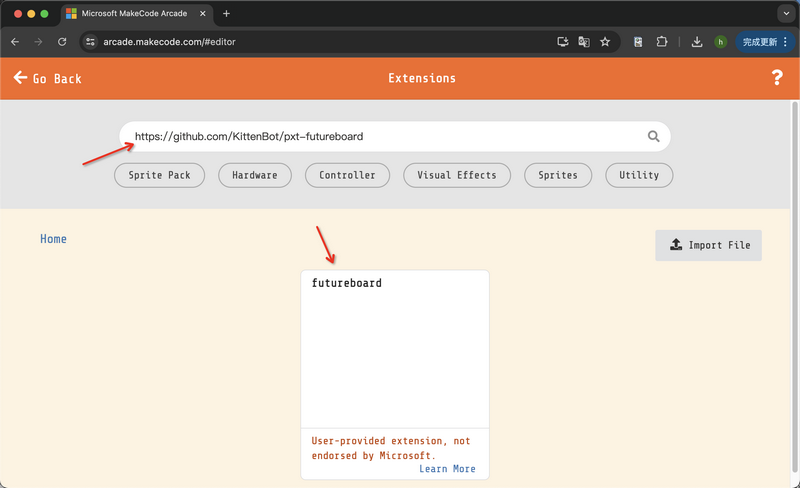
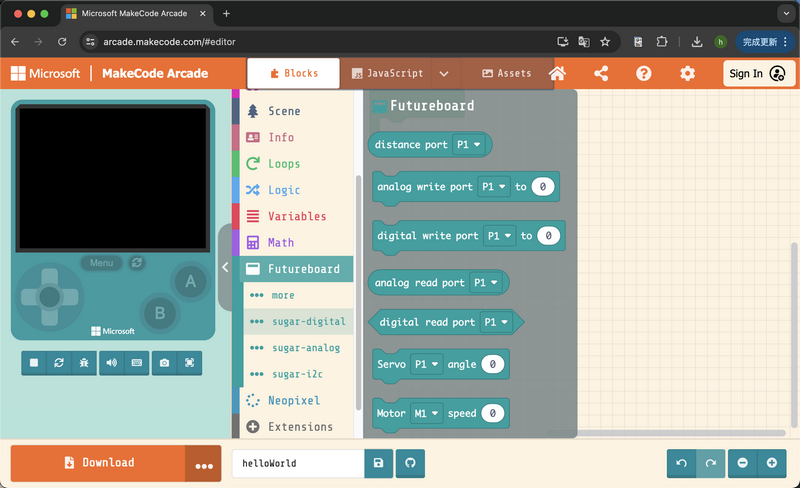
- At this point, you have completed the setup of the software platform. Next, we will guide you through a simple programming example to experience the fun programming aspects of FutureBoard Lite on the MakeCode Arcade.
Programming Examples
Next, we will combine a Soil Moisture Sensor and a Motor (simulating a water pump) to complete a simple potted plant assistant application that integrates with the screen.
Sample Works
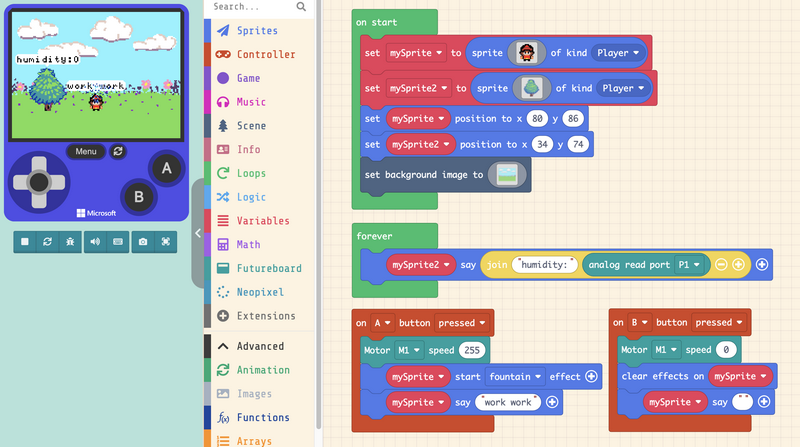
The logic of the program is roughly as follows:
- Display two sprites on the screen, Sprite 1 is a little person, and Sprite 2 is a tree, with the tree announcing the soil moisture value in real-time.
- Press Button A to activate the motor, causing changes in Sprite 1's little person and displaying an animation effect.
- Press Button B to deactivate the motor, returning the sprite to its normal state.
Operation Steps
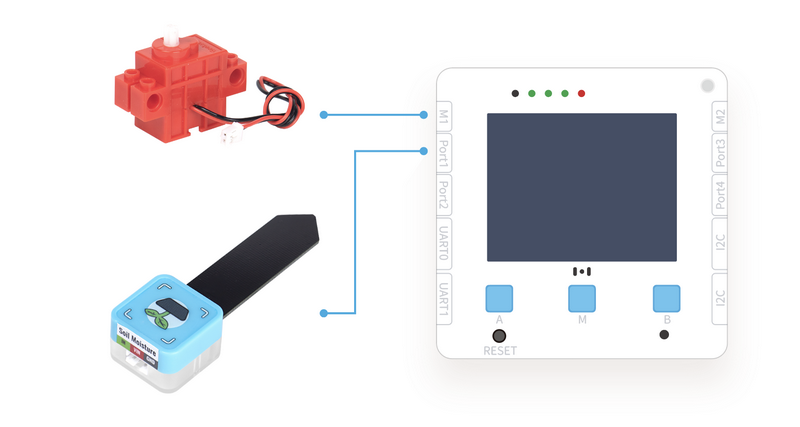
- Hardware needed for connection case: FutureBoard Lite, Soil Moisture Sensor, Gear Motor
- Open the sample work and click to download. You will obtain a .pxt64 program file (this file is the game file).
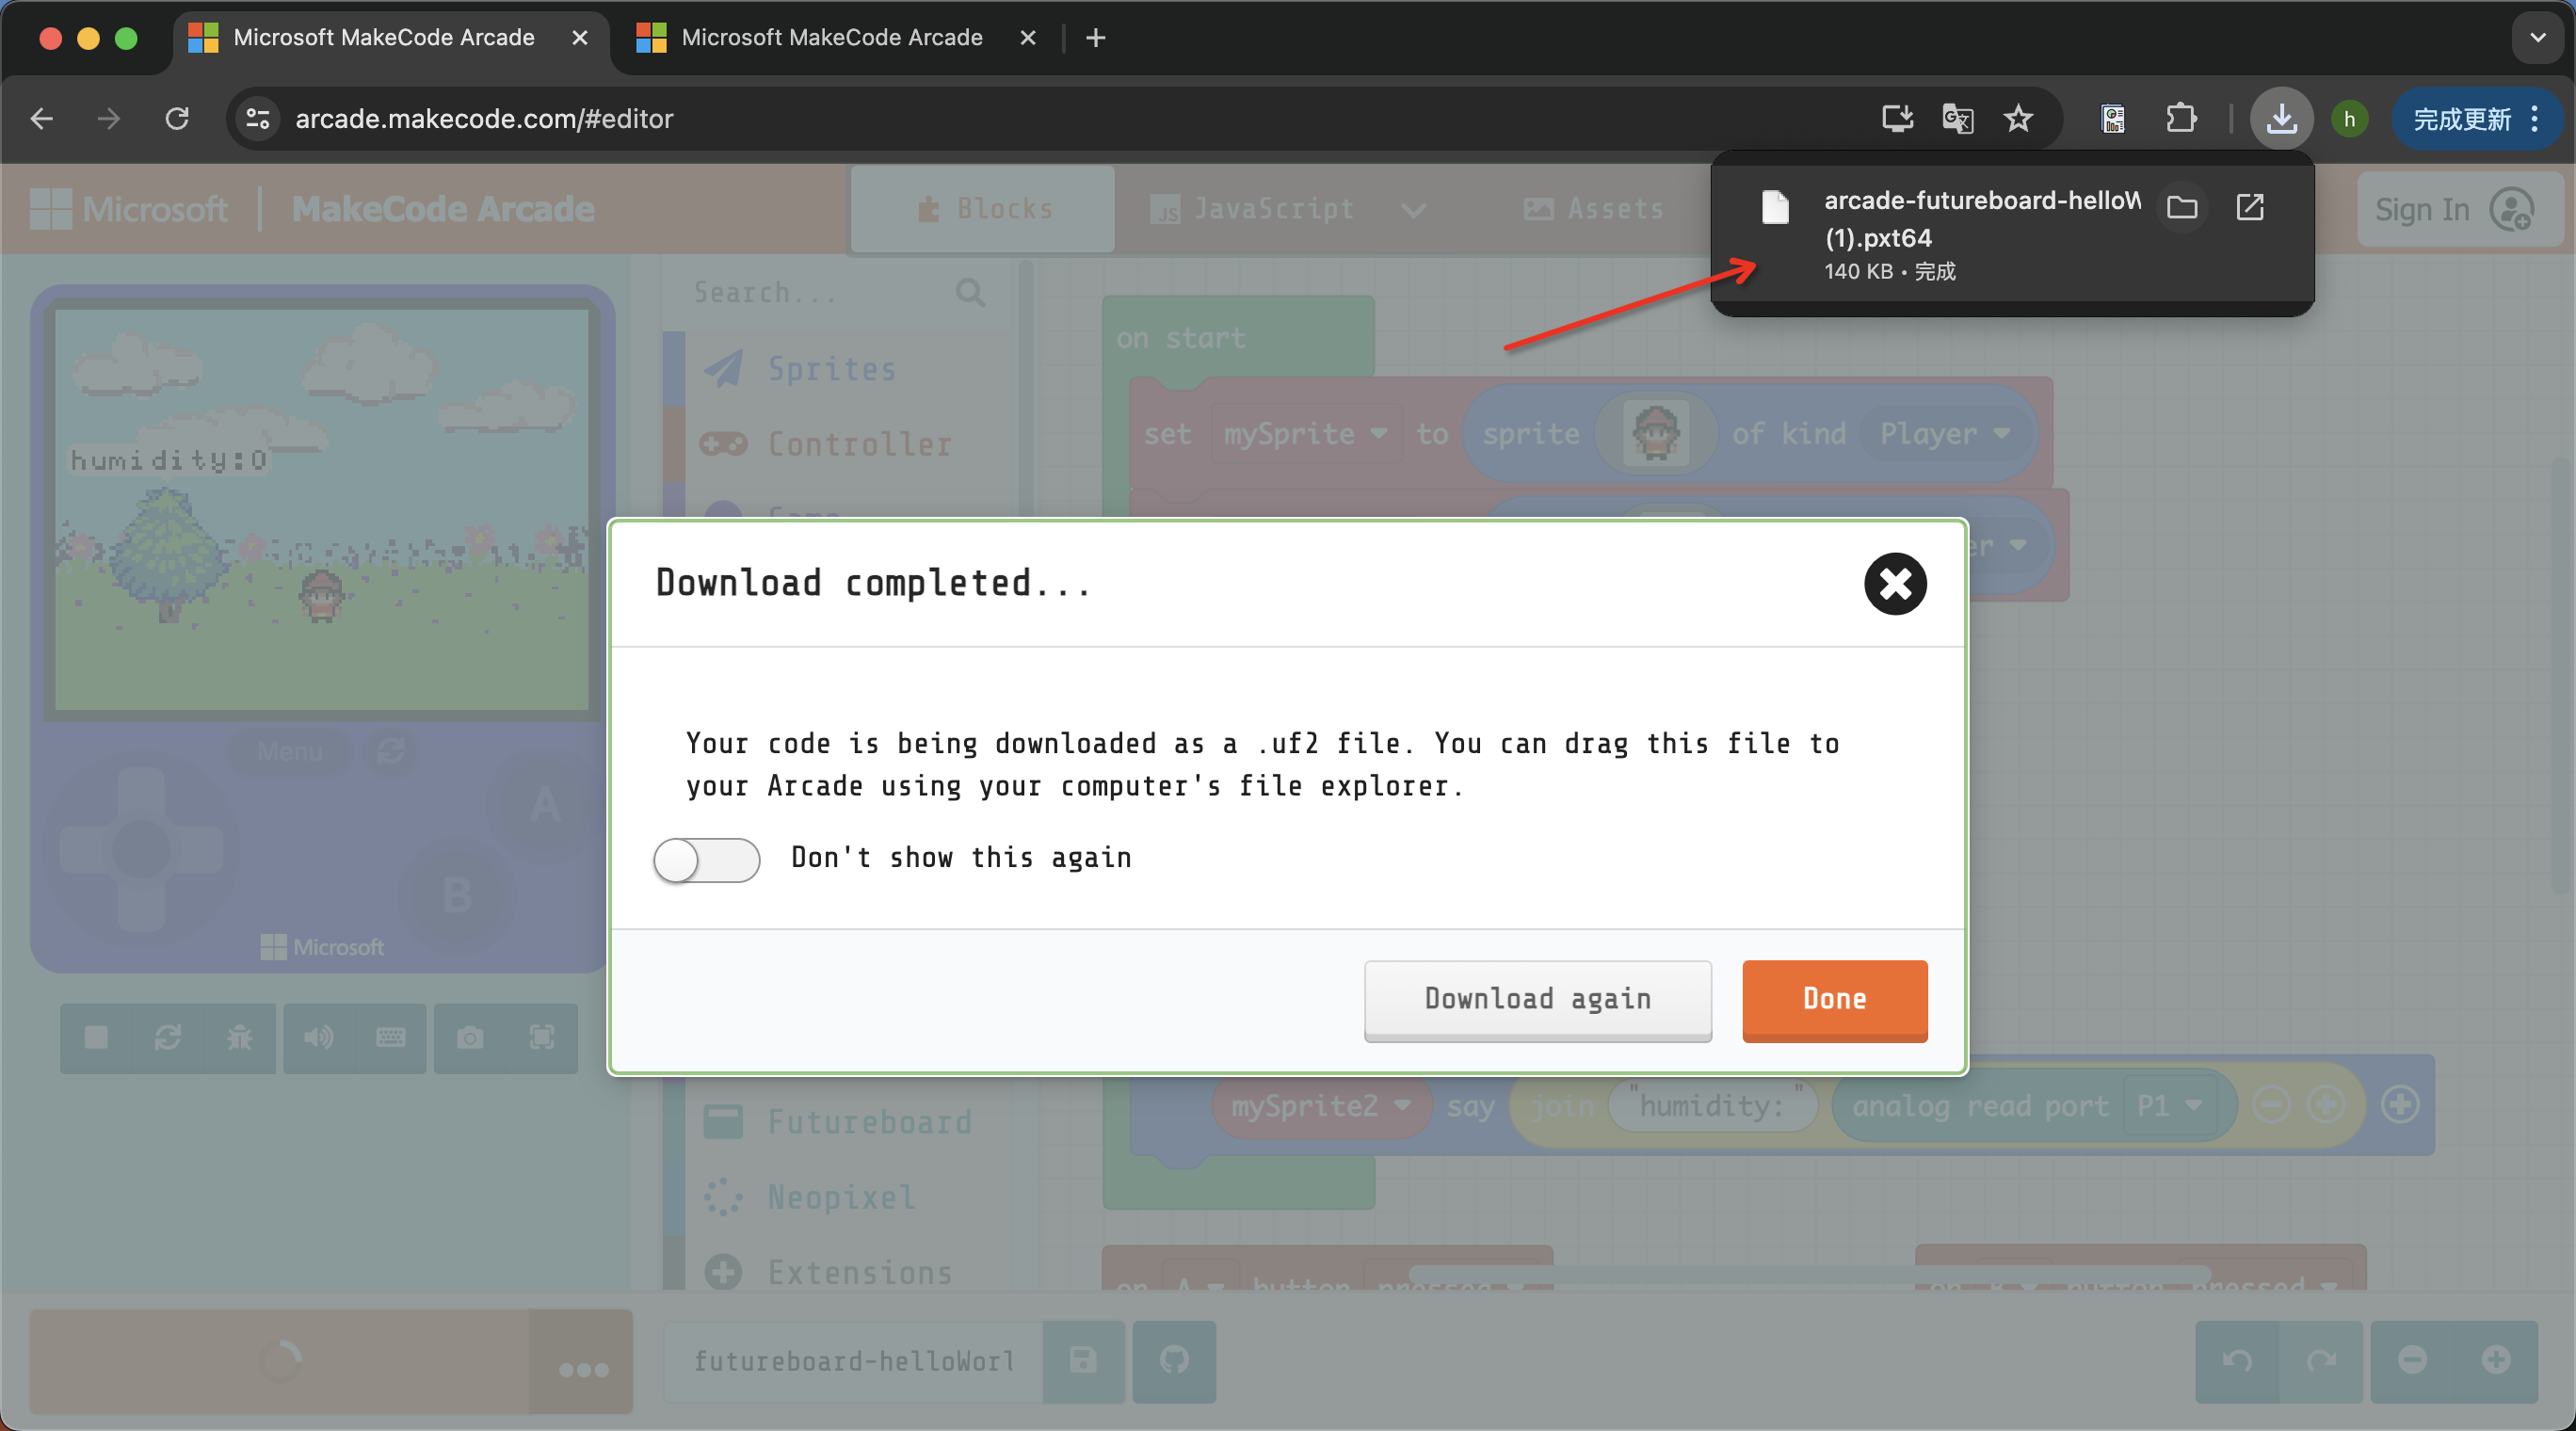
- Drag the program file into the FutureBoard Lite's drive on your computer (usually named FUTURE). Wait for a moment, the program will run automatically.
Storing Multiple Programs
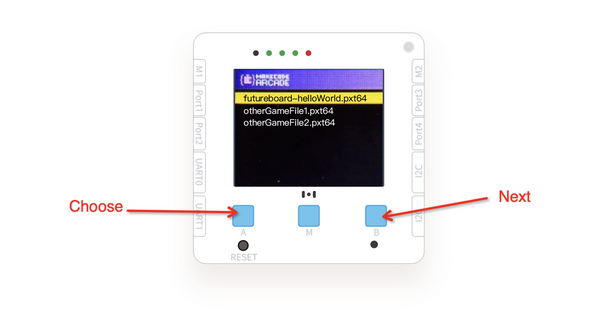
The advantage of Future Board Lite is its ability to store multiple programs. Follow these steps to understand how to store multiple programs and how to select which one to run.
We can repeat loading the program file for Future Board Lite in the same way we downloaded the game program. Then go to the game selection page by holding down the Button B and clicking RESET (the reset button).
FAQ
How to delete the game?
Connect the computer and motherboard through the data cable, and delete it in the USB flash disk.
- How much storage space is available?
The main control board has 1.6M of usable space, and a game typically takes up about 100K.
